Published June 26, 2024
A repaired panel that is even slightly off in color stands out every time you walk up to the car. Getting it right is one of the most careful parts of body work, and it is worth knowing what goes into it.
The paint code is the starting point
Every car has a paint code, usually on a label in the driver’s door jamb, under the hood or in the trunk. The code gives the formula the carmaker used. But the same color can vary from one factory or production batch to another, and years of sun and washing change how the paint looks. So the formula is where matching begins, not where it ends.
Tinting to the actual car
The painter mixes the formula, sprays test cards, and compares them with the car in good light, often from several angles. Small amounts of tint are added until the card matches the panels next to the repair. Some shops also use a handheld color camera to read the existing paint and suggest adjustments.
Blending
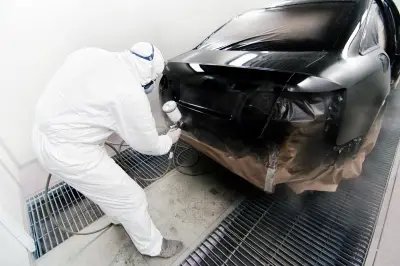
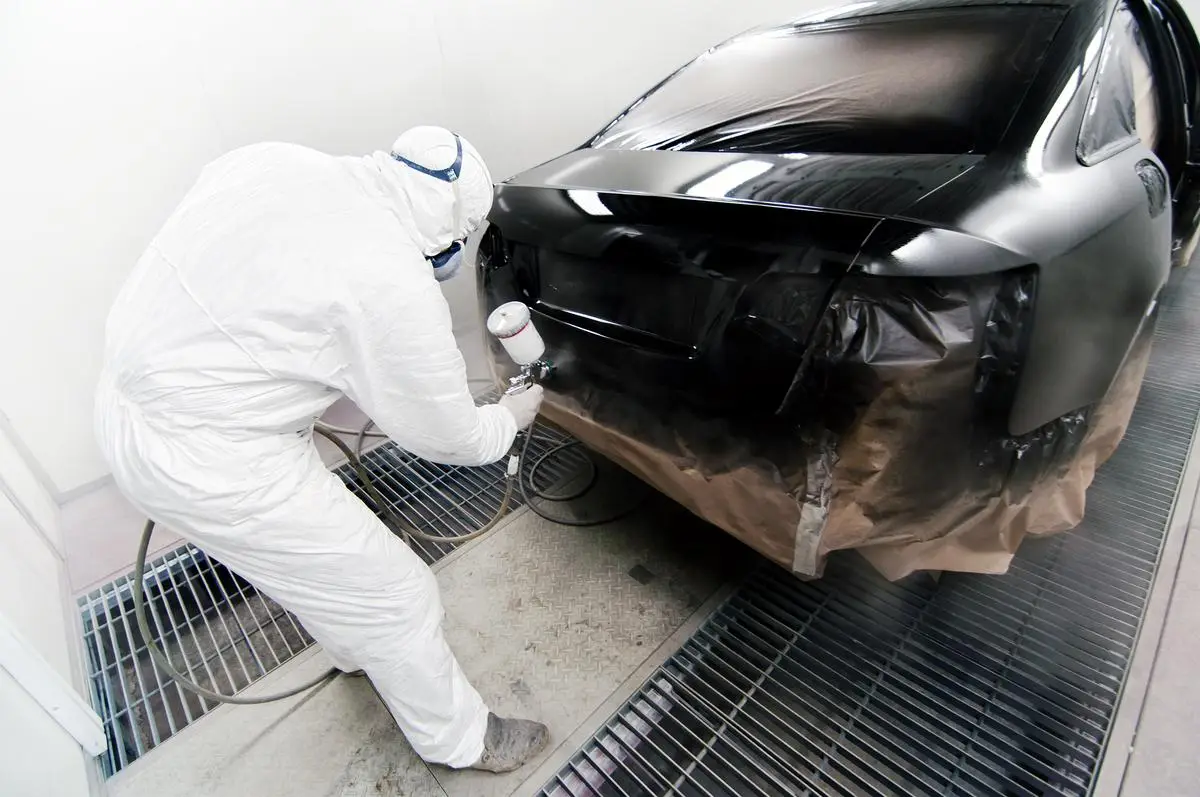
Even a close match can show a visible line where new paint meets old. To avoid that, the new color is faded gradually into the neighboring panel, so the eye sees no edge. That is why an estimate for a damaged door often includes blending the fender or the next door too. Clear coat is then applied over the whole area so the gloss is even.
Colors that take extra care
- Metallics. The tiny metal flakes must lie at the same angle as the original, or the panel looks lighter or darker depending on where you stand.
- Pearls and tri-coats. These use a base color, a translucent pearl layer and clear coat. The number of pearl coats changes the final color, so test panels matter even more.
- Whites and silvers. They look simple, but small differences are easy to see in daylight.
What to check when you pick up the car
- Look at the repaired area in daylight, not only under shop lights.
- Walk around it and view it from the front, the side and at an angle.
- Compare the gloss and texture with the rest of the car.
- Check that tape lines and overspray are gone from trim, rubber seals and glass.
If something looks off, say so before you drive away, so it can be looked at together.
Learn more
See our paint and refinishing page for the steps we follow, or send photos of the area you want repainted.